Path of Exile 2: Kalguuran Skills & Runic Ward Complete Guide
Master all 23 Kalguuran Skills and Runic Ward in PoE 2. Complete breakdown of Runic Ward mechanics, skill tier list, Remnant crafting, and 4 build archetypes for the Runes of Aldur league.
If you are jumping into the Runes of Aldur league, Kalguuran Skills and Runic Ward are the mechanics that define the experience. The 0.5 “Return of the Ancients” expansion dropped 23 new active skills, 7 dedicated support gems, and an entirely new defensive layer that sits beneath everything else in the damage pipeline. Unlike mana-gated abilities or attribute-locked gems, every Kalguuran skill is colourless and requirement-free — a Witch can run melee attacks, a Warrior can equip spells, and neither needs a single point in the wrong attribute.
That freedom comes with a catch. Kalguuran builds punish half-measures harder than almost any other archetype in Path of Exile 2. A character with 1,200 Runic Ward trying to cast Eternal March (up to 853 Ward cost) is burning 70% of the pool on one button press — that is a panic button, not a build plan.
This guide covers the full system: Runic Ward mechanics, the item level 55 rule, all 23 Kalguuran Skills broken down by role, all 7 Kalguuran Supports, four proven build archetypes, and the mistakes that send new players back to town.

What Are Kalguuran Skills?
Kalguuran Skills are a new gem family introduced alongside the Runes of Aldur challenge league. They belong to a broader Kalguuran system built around three intertwined mechanics: Verisium Runeforging (a crafting system for adding Runic Ward to armour), Runic Ward (the new defensive layer), and Kalguuran Gems (skills and supports that consume Ward as their resource).
How the System Unlocks
The Kalguuran system is gated behind Farrow’s questline, which spans four acts:
- Act 1: Basic Verisium Runeforging unlocked — apply Runic Ward to armour.
- Act 2: 13 Alloy currency items become available.
- Act 3: Unique Verisium Runeforging unlocked — upgrade low-level uniques with Ward.
- Act 4: Ancient Runes crafting unlocked.
Endgame content extends the system through Ocean Exploration (reworked Expedition), the Ruins of Kingsmarch hub, and four Kalguuran faction bosses — Olroth, Medved, Vorana, and Uhtred. For a broader look at how league mechanics layer onto the core game, see our Mechanics Explained guide.
The Remnant Crafting Loop
You will not buy Kalguuran gems from a vendor or find them as random gem drops. Every Kalguuran gem is crafted from Remnants — runestone artefacts found in every area. The loop works like this:
- Find a Remnant (every area spawns at least one).
- Examine its slots and available Runic Recipes (2 to 10 slots).
- Slot runes into the recipe — each rune adds an empowered monster wave.
- Fight the encounter and clear all waves.
- Claim your crafted reward.
Higher-slot Remnants (7+) are rarer but yield the best Verisium per hour and access to the rarest runes and gems. Treat low-slot Remnants as leveling material and save your rare runes for Megalith-tier encounters.
Three Gem Families — Know the Difference
The 0.5 expansion launched three distinct gem categories simultaneously, and mixing them up is the most common new-player confusion:
| Kalguuran Skills | Kalguuran Supports | Lineage Supports | |
|---|---|---|---|
| Count | 23 | 7 | 24 new in 0.5 |
| Resource | Runic Ward | Adds Runic Ward cost | Mana / Life / Spirit |
| Attributes | None — colourless | None — colourless | Some required |
| Acquisition | Remnant crafting | Remnant crafting | Endgame / boss drops |
| One-copy limit? | N/A | N/A | Yes |
The simple test: if you craft it from a Remnant recipe, it is Kalguuran. If it drops like a unique item, it is Lineage. Olroth’s Conviction, for example, has Runic Ward mechanics but is a Lineage Support dropped from The Aberration — not a Kalguuran gem.
Runic Ward: The Defensive Layer That Changes Everything
Runic Ward is simultaneously the fuel for every Kalguuran skill and a defensive layer that can save you from a killing blow. Understanding how it actually works — versus how it is commonly misunderstood — is the single most important thing you can learn before building around it.
Where Ward Sits in the Damage Pipeline
Runic Ward is a reverse Energy Shield. Where Energy Shield sits on top of Life and absorbs damage first, Runic Ward sits at the very bottom and only activates when every other defence has already failed:
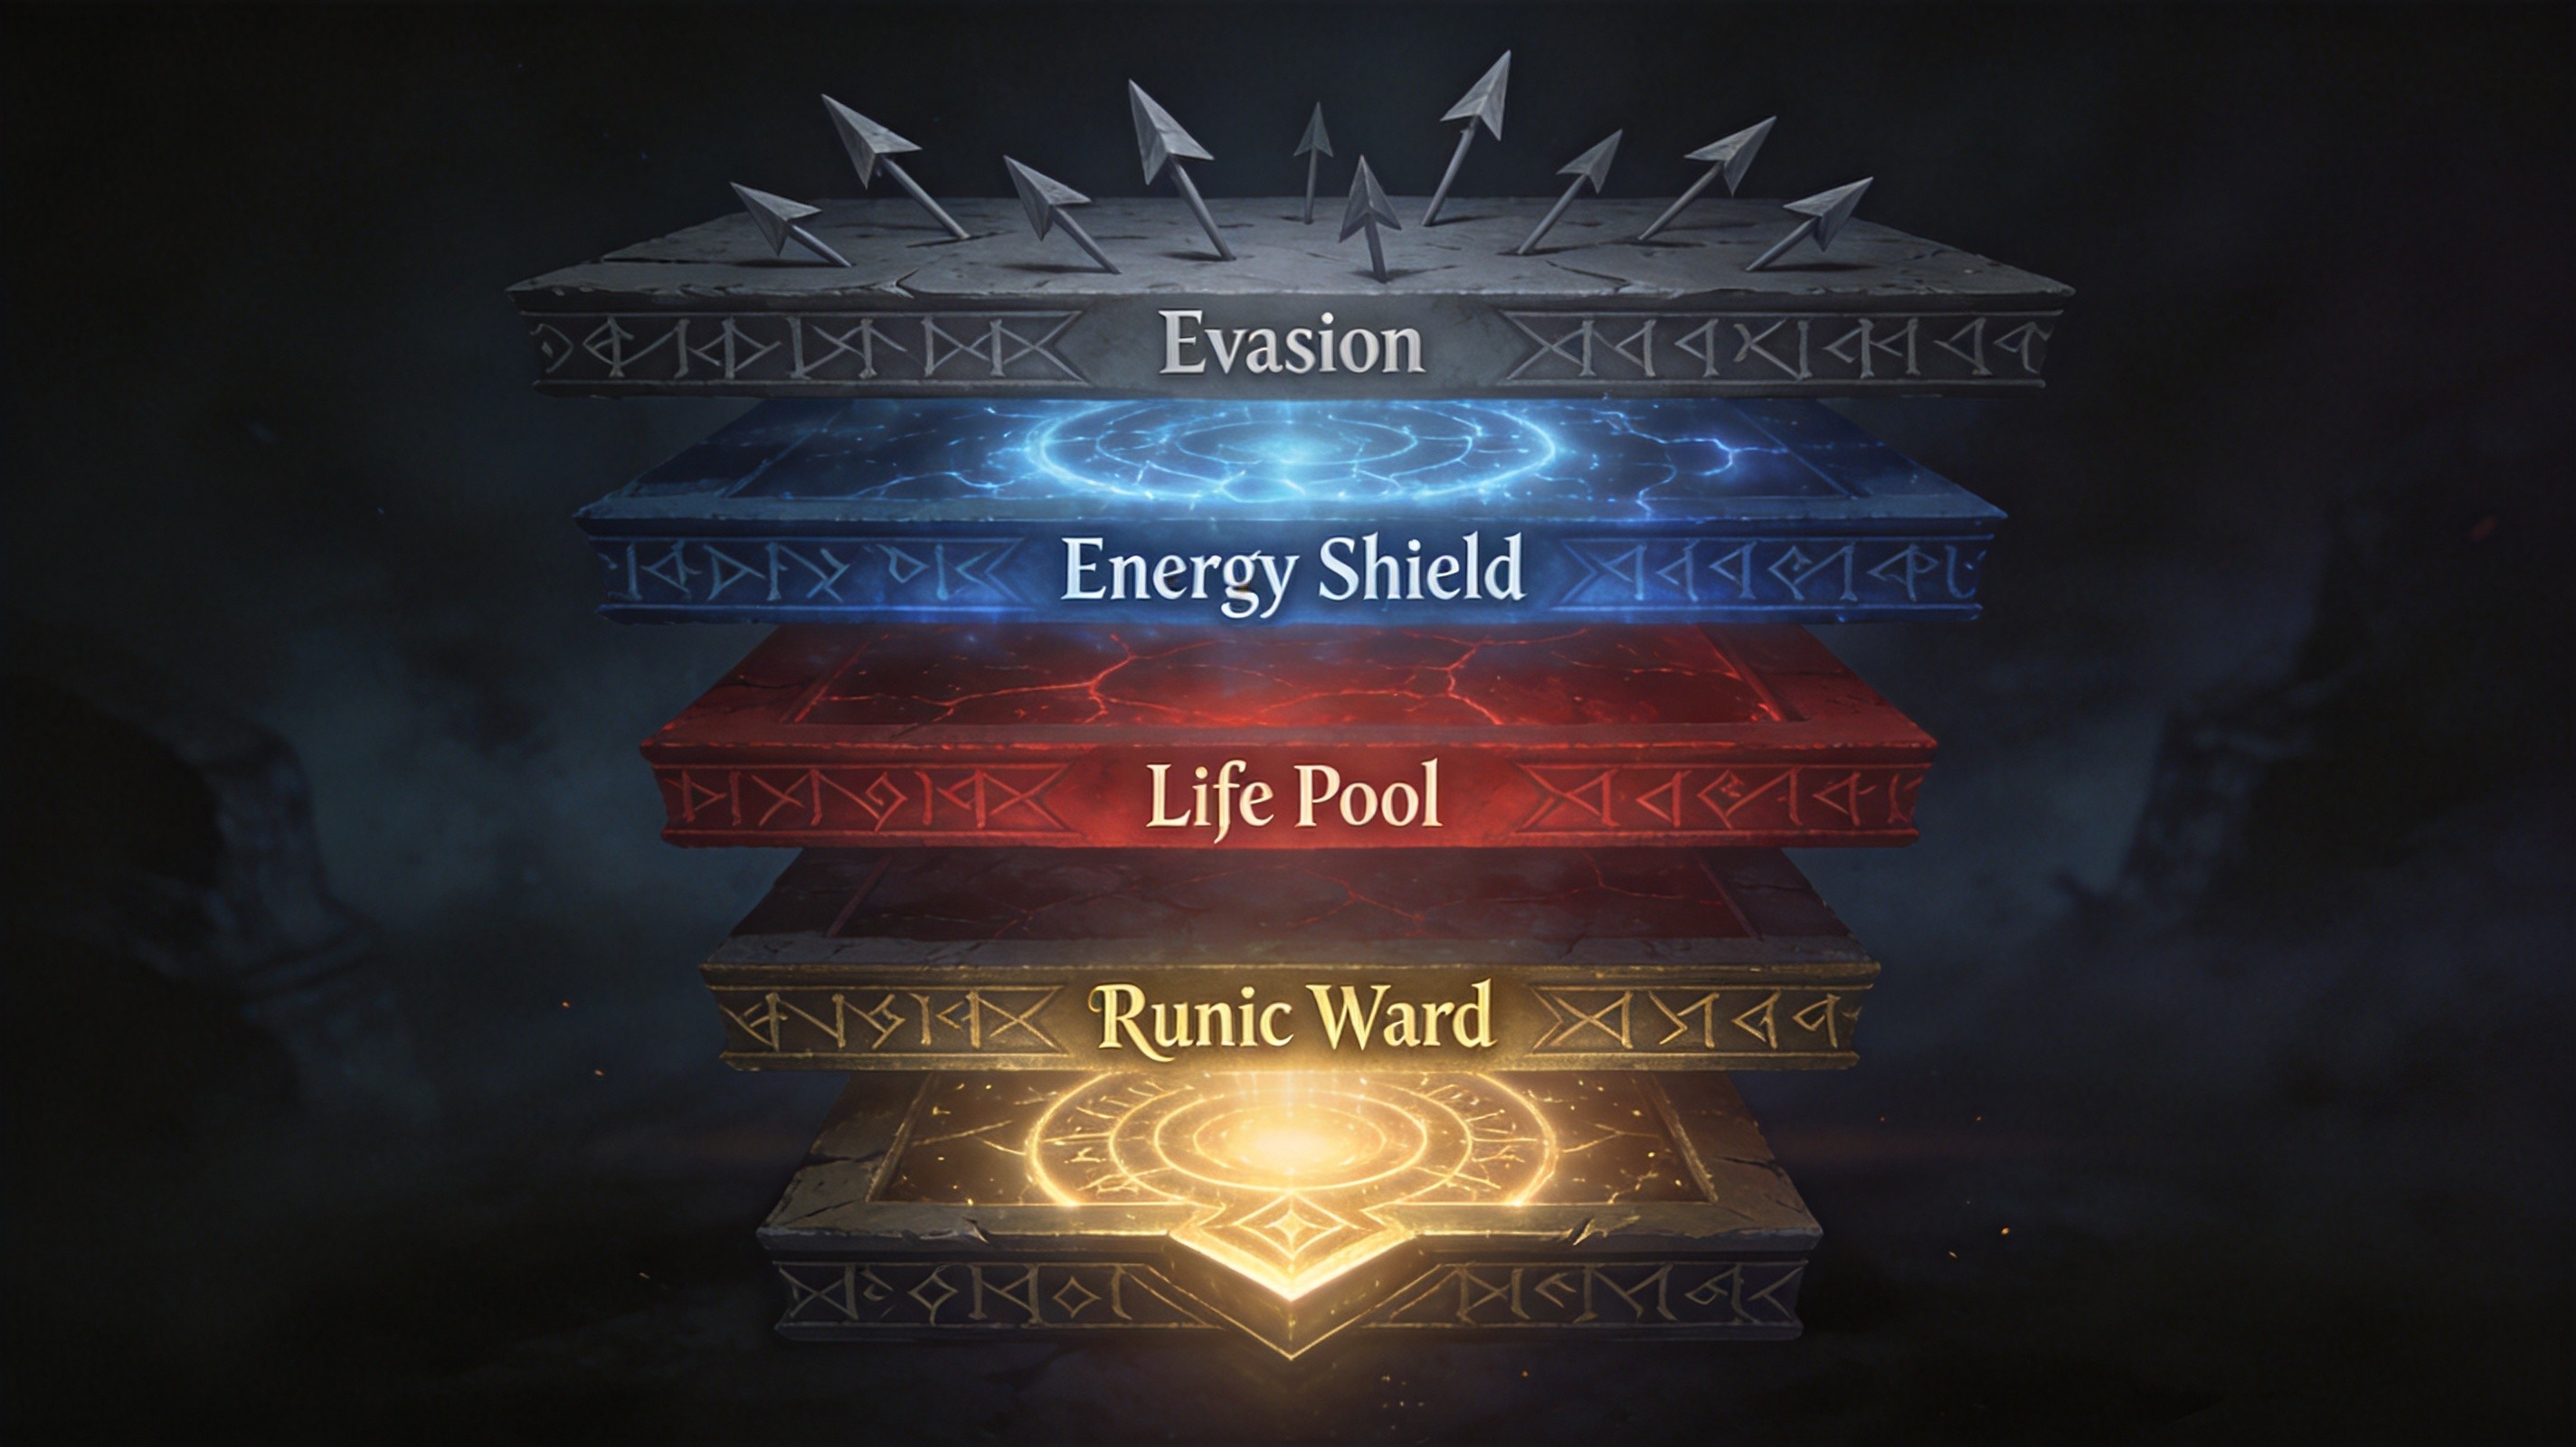
- Evasion / Armour / Block / Deflection — your front line. Evasion avoids hits entirely, Armour reduces physical damage, Block stops a percentage of incoming hits.
- Energy Shield — absorbs damage before Life. Has a recharge delay after taking damage.
- Life — your primary health pool. You die when this hits zero.
- Runic Ward — only activates when Life drops to exactly 1 from a hit that would otherwise kill you. It absorbs the remaining damage of that killing blow.
If a hit is large enough to blow through both your Life pool and your Ward simultaneously, you still die. Ward is a buffer, not invincibility — and its size determines how big a hit you can survive.
For a complete breakdown of how all defensive layers interact, see our Defensive Layers guide.
Baseline Numbers
| Property | Value |
|---|---|
| Base regeneration rate | 5% of maximum Runic Ward per second |
| Activation threshold | Life = 1 (from a killing hit) |
| Overflow cap | 150% of maximum |
| Protection against non-damage Life loss | None |
| Monster Ward interaction | Blocks Culling Strike while Ward is active |
| Quality bonus on armour | +1% Runic Ward per 1% quality |
What Makes Ward Different from Energy Shield
Two mechanical properties set Runic Ward apart:
No recovery delay. Unlike ES, which pauses regeneration after taking damage, Runic Ward starts regenerating immediately at its baseline rate. It recovers between hits on its own with no input required.
DoT resistance (indirectly). Damage-over-time effects like burning ground or poison hit your Life pool first, so they will not stop Ward from passively recovering in the background. Your Ward is typically fresh and ready when the next big physical hit lands.
The Item Level 55 Rule — Do Not Ignore This
Applying Runic Ward to armour happens at the Verisium Anvil in town. The most important rule in the entire system is the item level threshold:
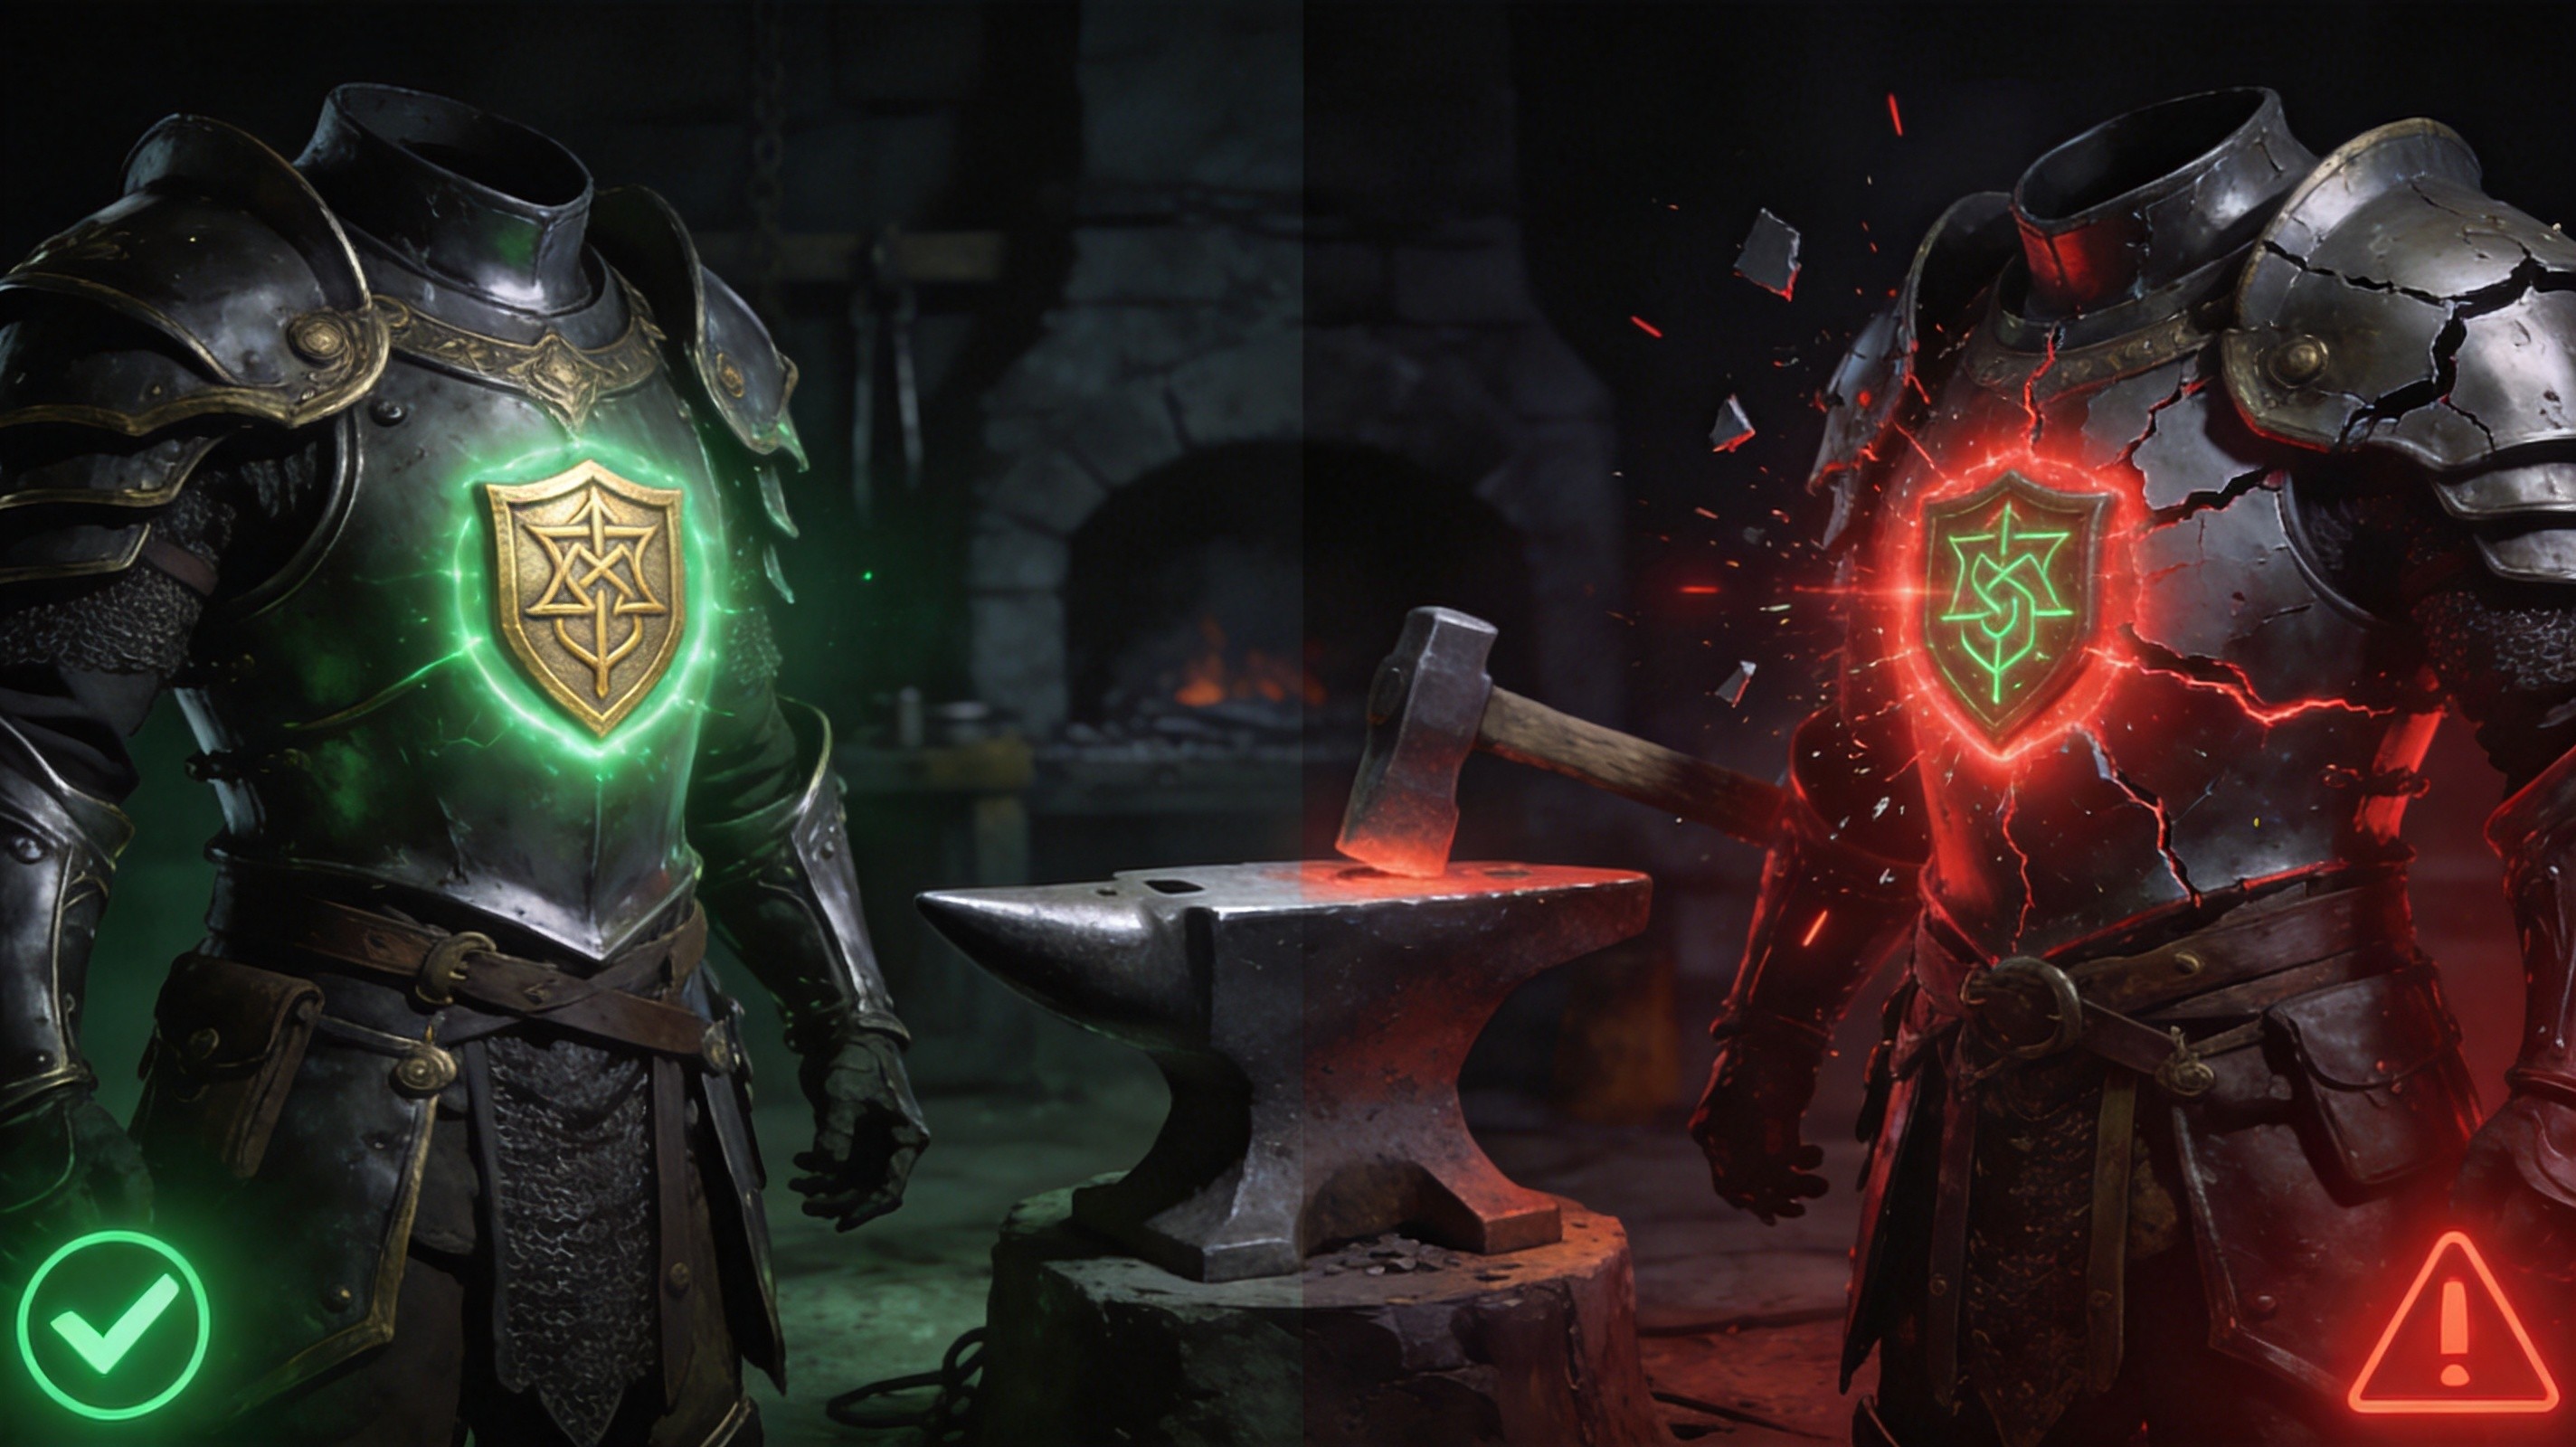
Item level 55 and below: Runic Ward is added with zero downside. No base defence is lost. For levelling gear and low-level uniques, this is pure upside — always do it.
Item level 56 and above: A portion of the item’s base Armour, Evasion, or Energy Shield is converted into Runic Ward. The penalty scales with item level, becoming more severe at higher tiers.
This is the most common trap new players fall into. A character sees “add Runic Ward” and clicks it on every piece, then wonders why they are taking dramatically more damage from ordinary hits — they have stripped away 30–65% of their armour or evasion in exchange for a buffer that only triggers when they are already at 1 Life. For endgame gear, make the decision per piece based on what you are giving up versus what you are gaining. For help evaluating your gear choices, our Gear Tier List guide covers what to keep and what to replace.
How to Scale Runic Ward — Three Axes of Improvement
There are three independent dimensions along which you improve your Ward setup. Confusing them is a major source of build failure.
1. Maximum Ward — Your Total Pool Size
Increased through Verisium Runeforging quantity, the Warding Rune of Heart (converts 5% Life to max Ward), amulet prefixes (6–10% increased max Ward), the Runemastered Spiritbone Crown, and global defence increases from the passive tree. For guidance on how to allocate your passive points alongside Ward scaling, see the Passive Skill Tree guide.
2. Regeneration Rate — How Fast Ward Returns
The base 5%/s can be increased by Lesser, Greater, and Perfect Charging Runes (8%/16%/20% increased regen), the Runemastered Heavy Belt (20–40% increased), Runeforged Flowing Raiment (30–40% increased), Emergent Possibility (50% increased while Sprinting), and various passive tree nodes.
3. Cost Efficiency — How Far Each Point Goes
The most overlooked of the three. A build with high cost efficiency can run the same skill rotation on a smaller pool. The Emergent Possibility bonded effect on boots grants 15% increased Runic Ward Cost Efficiency — a quietly powerful modifier that lets you run more offensive skills without shrinking your defensive reserve.
The critical relationship between these three is the Ward Sustainability Triangle. Supports like Runic Infusion cost 20% of maximum Ward per use. Stack more max Ward and each cast drains a larger absolute amount. Without a corresponding increase in regeneration or cost efficiency, more max Ward can make your rotation worse because you empty the pool faster.
All 23 Kalguuran Skills at a Glance
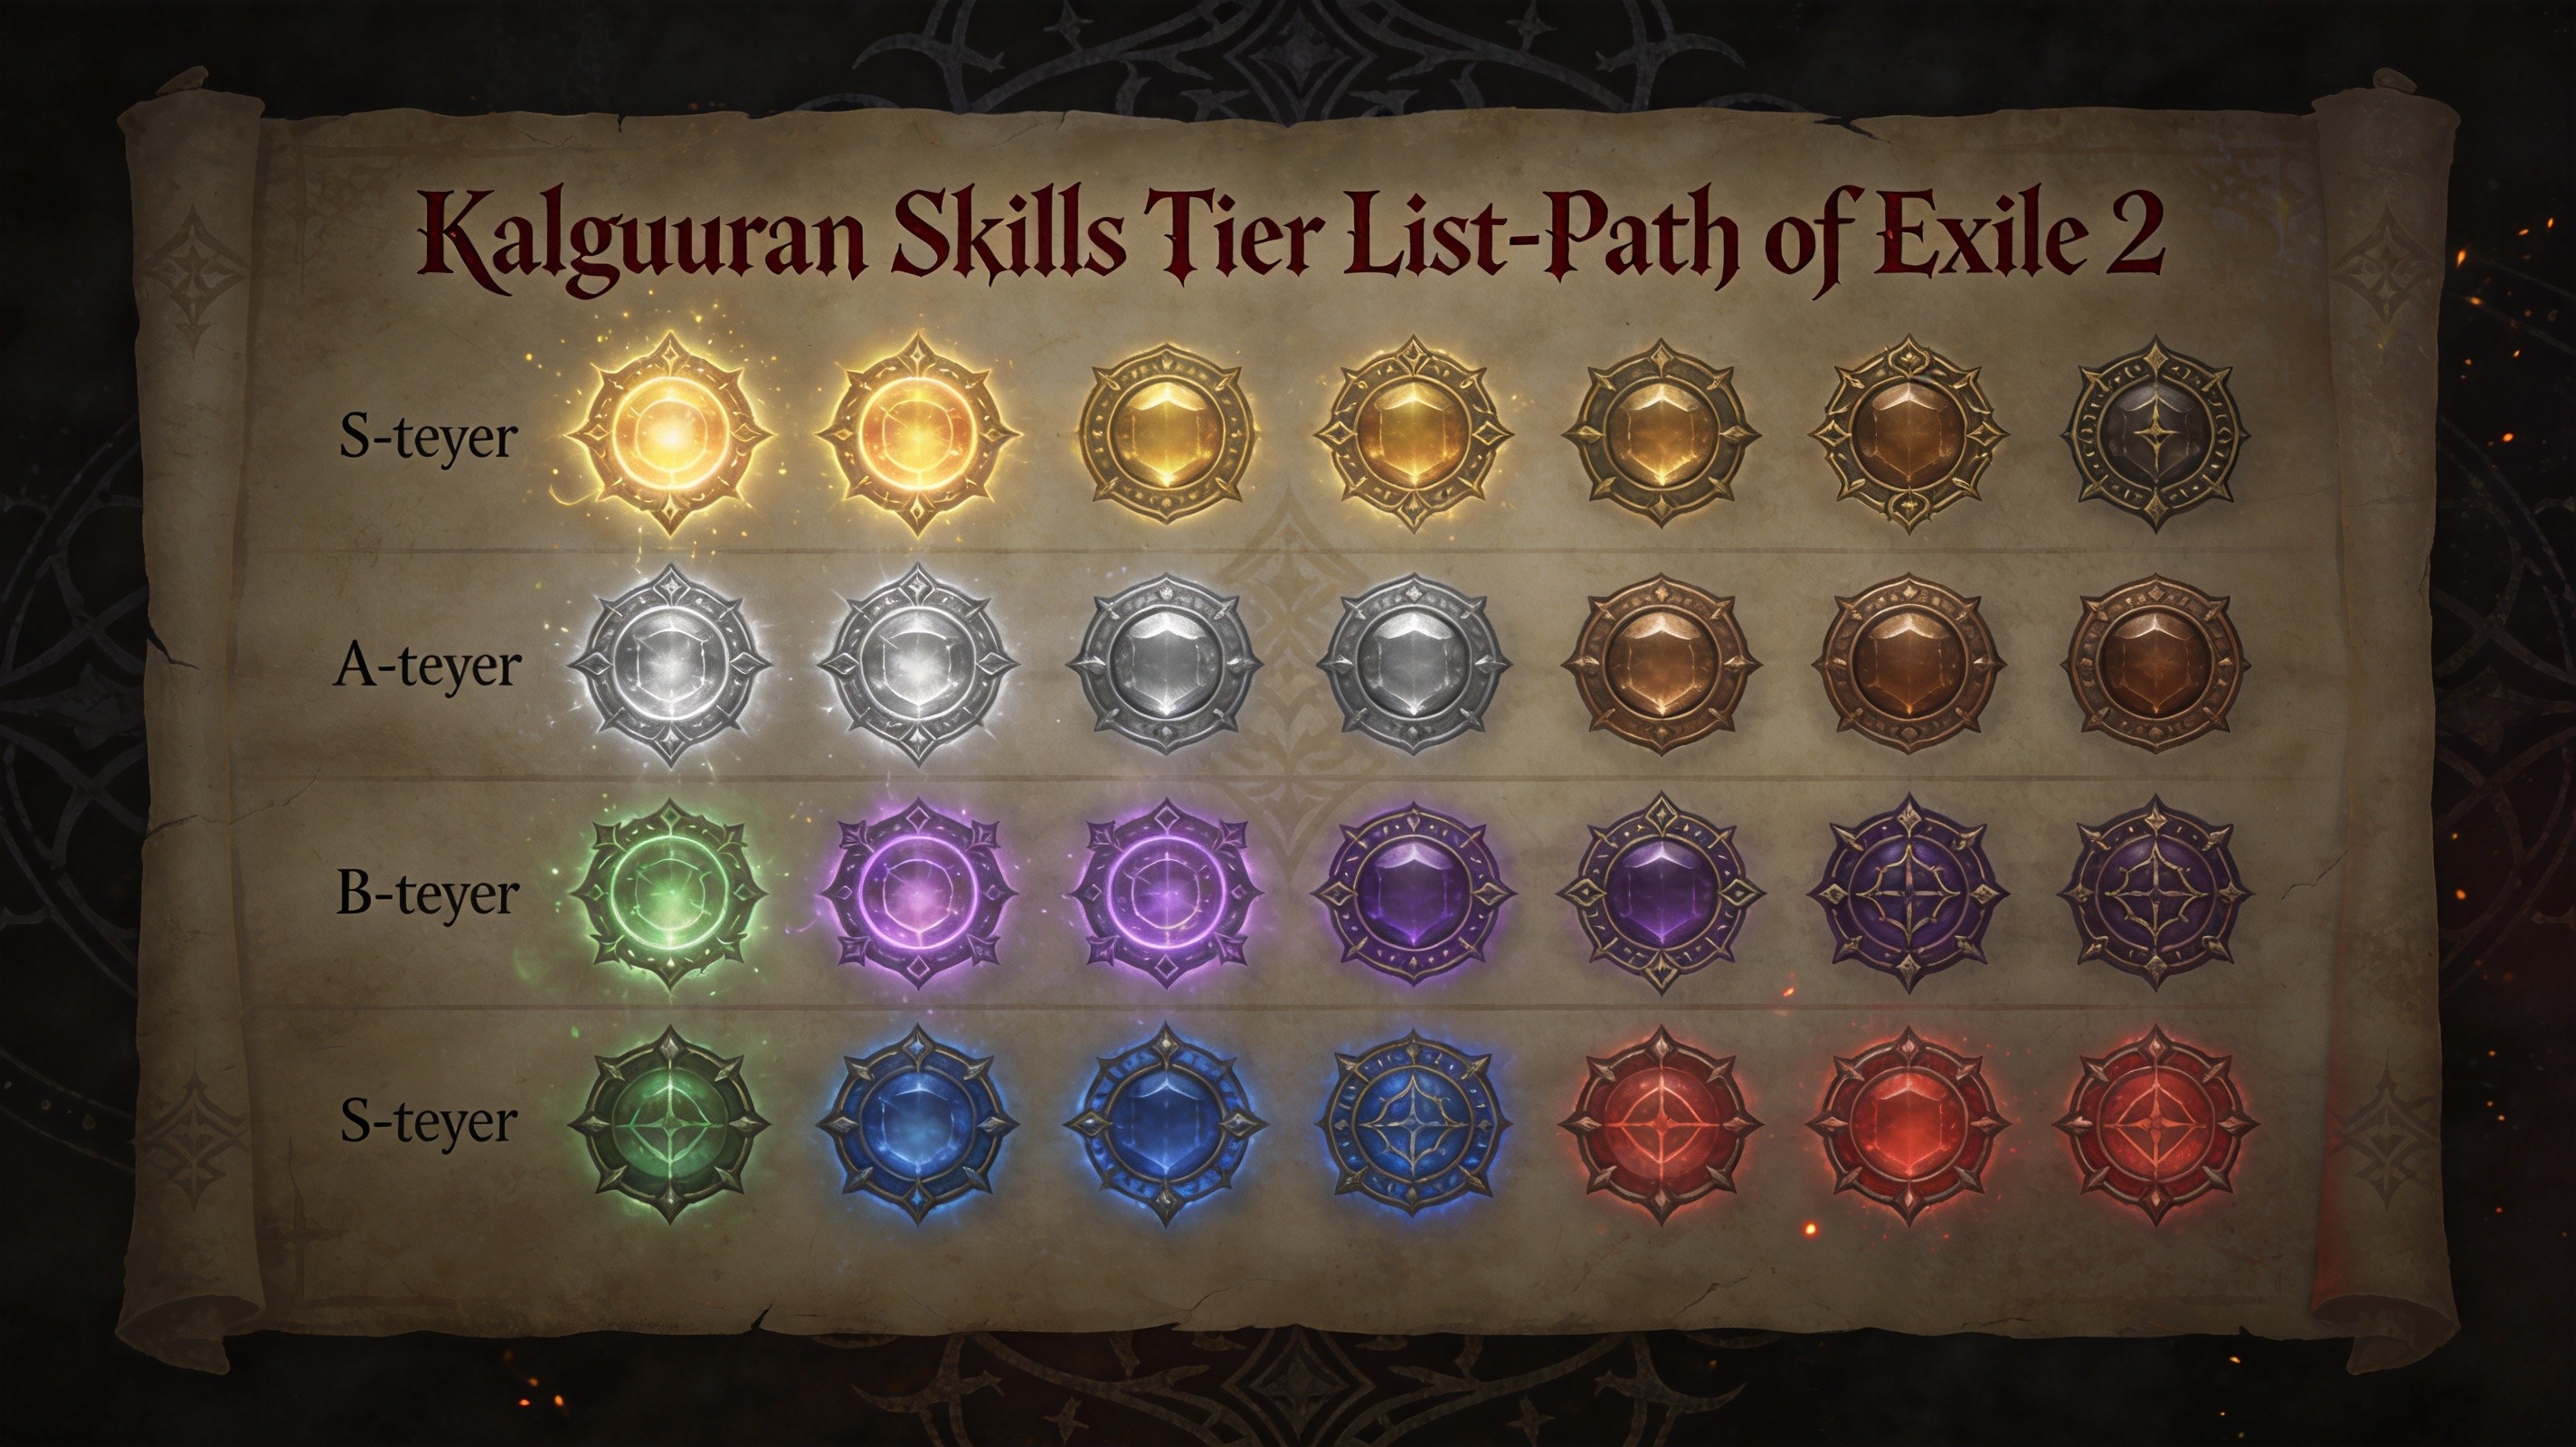
The full skill list organized by functional role. Exact values scale with gem level and quality.
Offensive Skills
| Skill | Tags | Core Function | Cost Type |
|---|---|---|---|
| Bitter Dead | Cold, AoE, Repeatable | Transforms corpses into seeking cold cores that chill, explode, and leave damaging runes | Fixed/scaled Ward |
| Conductive Runes | Lightning, AoE, Duration, Hazard | Places 10 hazard runes in an 8.5m cone that arm after 0.4s with Electrocution buildup | Fixed/scaled Ward |
| Detonate Living | Physical, AoE, Repeatable | Culls enemies below a threshold and detonates them for Physical AoE (up to ~14.2% corpse max Life) | Fixed/scaled Ward |
| Fragments of the Past | Cold, Attack, AoE, Projectile, Trigger | Deploys a Verisium volcano erupting Ice Fragment projectiles every 0.5s for 8s | Fixed/scaled Ward |
| Frostflame Nova | Cold, Fire, Nova, AoE, Spell | Wave latches onto Ignited enemies, rapidly builds Freeze (10% more per 1% of Ignite threshold) | Fixed/scaled Ward |
| Grim Pillars | Cold, AoE, Duration, Nova | Creates 8 ice-crystal spears; destroying them triggers Cold explosions with 50% more Freeze buildup | Fixed/scaled Ward |
| Rain of Blades | Attack, Buff, AoE, Trigger | Active buff causes blades to fall on enemies hit by projectile attacks | Buff + trigger cost |
| Repulsion | Attack, AoE, Curse, Physical | Curse applies Fragility; hitting cursed enemies triggers Physical explosion with knockback and Stun | Fixed/scaled Ward |
| Skyfall | Minion, AoE, Physical, Cold | Builds Glory from Ward spending; at max calls Verisium strike + summons 3 minions (6 with Infusion) | Glory gated + Ward |
| Triskelion Cascade | Buff, Duration | Empowers next Cascadable spell to fire in a 6-point Triskelion pattern; adds cast time to cooldown | Fixed/scaled Ward |
| Voltaic Barrier | Attack, Lightning, AoE, Trigger | Places 6m electrified wall; converts 100% Phys to Lightning, 300% more Electrocution buildup | Fixed/scaled Ward |
| Wardbound Minions | Minion, Duration, Repeatable | Spends ALL Ward to summon up to 24 temporary Cold spellcasters (6 casts each) | All current Ward |
Defensive Skills
| Skill | Tags | Core Function | Cost Type |
|---|---|---|---|
| Hollow Shell | Spell, Buff, AoE, Nova | Spends 100% Ward to grant nearby allies Guard equal to 56–64% of Ward spent (6s) | All current Ward |
| Refutation | Buff, Spell, Duration | Spends all Ward for auto-block in all directions (4s); blocked enemies get Parried (+50% Attack damage taken) | All current Ward |
| Runic Reprieve | Spell, Channelling | Channel to block all hits; damage from blocked hits taken from Ward instead of Life; no Ward recovery while channelling | Ongoing Ward drain |
Utility and Resource Skills
| Skill | Tags | Core Function | Cost Type |
|---|---|---|---|
| Animus Exchange | Spell | Sacrifices Life (up to 800) to recover Runic Ward at 70% efficiency; can Overflow | Mana + Life sacrifice |
| Animus Splinters | Meta | Creates a short-lived copy that uses a socketed eligible skill once | Ward = socketed skill cost |
| Eternal March | Minion, Repeatable | Instantly revives minions with total max Life equal to 3–20× Ward spent; prioritizes strongest first | Variable (up to 853 Ward) |
| Explosive Transmutation | Spell, Persistent, AoE, Trigger | Picking up Remnants triggers typed explosions at Remnant location | 30 Spirit + per-trigger Ward |
| Leylines | Buff, Persistent, AoE | Standing on revealed zones grants 10–29% more Spell damage but drains Ward and stops regen | 30 Spirit + continuous Ward drain |
| Powered by Verisium | Spell, Repeatable | Generates 1–4 Verisium Infusions that substitute for any Elemental Infusion | Fixed/scaled Ward |
| Remnants of Kalguur | Buff, Persistent | 50% chance to spawn Ward Remnant on Stun (3s cooldown); 25% on kill; each grants Ward + can Overflow | 30 Spirit reservation |
| Verisium Manifestations | Minion, Persistent | Attack hits spend Ward to summon up to 10 short-lived minions that attack nearby enemies | Triggered per hit |
The 7 Kalguuran Supports
Each Kalguuran Support adds a specific payoff while attaching a Runic Ward cost. Understanding the cost formula matters as much as understanding the reward.
| Support | Eligible Skills | Ward Cost Formula | Core Payoff |
|---|---|---|---|
| Concussive Runes | Attacks that cause Heavy Stun | Consumes Ward on trigger | Triggers runic shockwave on Heavy Stun |
| Fist of Kalguur | Self-used non-Channelled Slams | 150% of life+mana cost as Ward | 20% of damage as extra Physical + rune aftershock |
| Healing Runes | Persistent Buff skills | Up to 10% max Ward per 5s | Heals nearby allies for 200% of Ward lost |
| Runeforged Blades | Attacks consuming Fully Broken Armour | Ward cost on trigger | Fires 7 projectiles in a circle after broken armour consumed |
| Runic Extraction | Any damaging skill | 20% of life+mana cost as extra Ward | 35% chance to create Verisium Infusion Remnant on kill |
| Runic Infusion | Self-used or self-triggered attacks | 20% of maximum Ward per cast | Added Physical damage equal to 25% of Ward cost |
| Scouring Flame | Any skill that Hits | 25% of life+mana cost as extra Ward | 50% more magnitude of Ignite inflicted |
Runic Infusion is the most popular damage support. At 3,000 max Ward, each supported cast costs 600 Ward and adds 150 flat Physical damage. Flat damage is extremely valuable because it applies before multipliers — but remember that increasing your max Ward also increases the per-cast cost. Sustainability requires balancing regen alongside pool size.
Scouring Flame pairs perfectly with Frostflame Nova for Ignite + Freeze hybrid builds, creating an elemental ailment chain that melts both single targets and packs.
For context on how Ward costs interact with your overall resource management, the Spirit & Mana Management guide covers the broader economy.
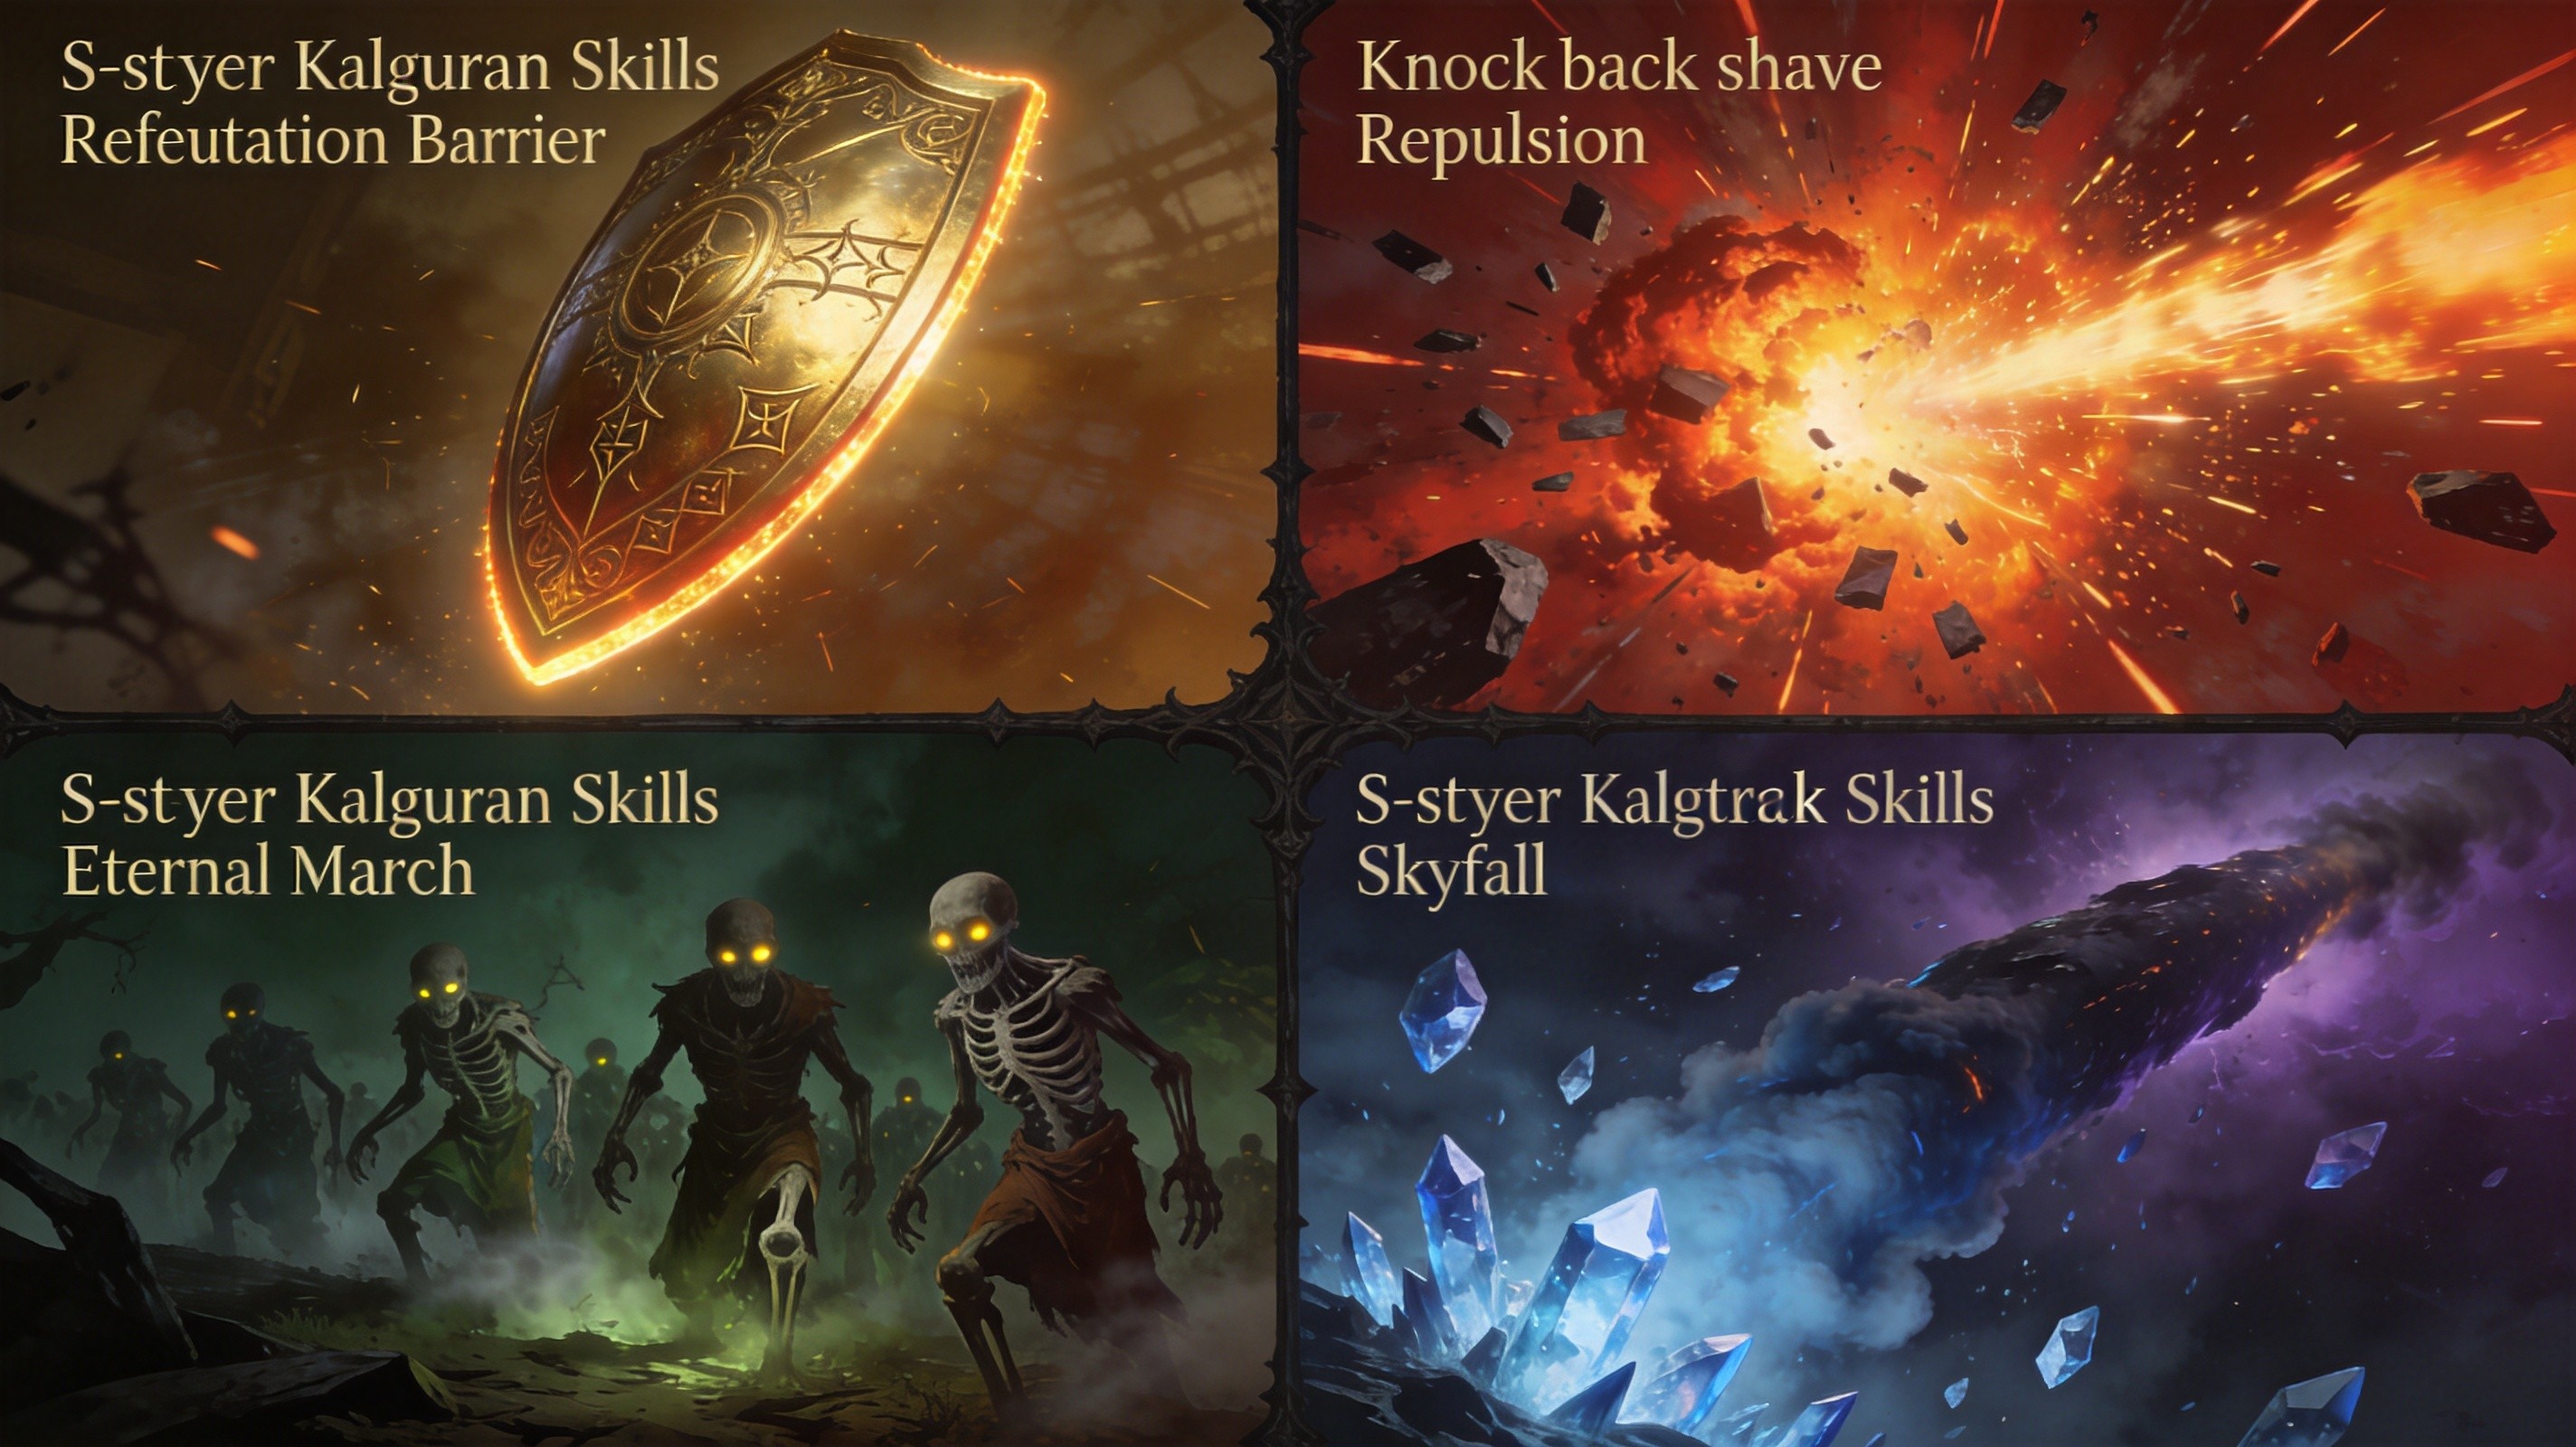
S-Tier Spotlight: The Four Skills Worth Targeting First
Refutation — Universal Defensive Cooldown
The most broadly useful Kalguuran skill. Spend all Ward for omnidirectional auto-block lasting 4 seconds, simultaneously turning defence into offence via the Parried debuff (+50% Attack damage taken by blocked enemies). The trade-off is a 50% reduction to Stun Threshold — blocking too much damage causes a Heavy Stun that ends the buff early. With a large enough Ward pool (300+) and some passive Stun Threshold investment, this downside becomes negligible. Refutation was nerfed in 0.5.1 (duration cut from approximately 8 seconds to 4) but remained a meta staple afterward.
Repulsion — The Auto-Bomber Core
The cornerstone of fully automated clear. Repulsion curses enemies with Fragility, and every hit on a cursed enemy triggers a Physical explosion — which itself counts as a hit, causing chain reactions in dense packs. When socketed into Blasphemy (60 Spirit), Repulsion becomes a passive aura that curses everything nearby automatically. Classified as a Physical Attack rather than spell damage, Repulsion scales from flat added damage on gear (rings, gloves) and triggers on-hit effects like life leech and life gain on hit.
Eternal March — Minion Build Lifeline
A mandatory pick for any serious minion build. On a 4-second cooldown, it instantly revives fallen minions, prioritizing the highest-value ones first. In a game designed to nuke minion armies with boss AoE, having a single button that brings your army back changes entire fight dynamics. This skill alone pushed minion archetypes into viability they did not previously have.
Skyfall — Highest Damage Ceiling
Operates on a Glory system: every point of Ward spent generates 1 Glory, and at max Glory (270) you call down a massive Verisium strike dealing 553–829 Physical plus equal Cold damage, summoning 6 temporary minions with Verisium Infusion. The loop rewards sustained Ward generation over burst dumping — a natural fit for builds already running a Ward economy.
4 Build Archetypes for Kalguuran
Every successful Kalguuran build balances the Ward Sustainability Triangle: maximum Ward, regeneration rate, and cost efficiency. Neglect any one pillar and the system collapses. Here are four proven approaches.

Archetype 1: Ward-Fueled Offense (Runic Infusion Engine)
Stack high maximum Ward and use Runic Infusion to convert it into flat Physical damage on every supported cast. Maximise the pool through Runeforging, gear, and passive tree nodes. Solve sustainability through Charging Runes, belt and helmet modifiers, tree nodes, and recovery on kill from Remnants of Kalguur.
Trade-off: Every cast drains a meaningful chunk of your defensive buffer. You need confidence in your other defences because you are actively spending your last-line protection on offence. Not beginner-friendly.
Archetype 2: Minion Survival (Eternal March Core)
Stack massive max Ward and regen to keep Eternal March available as a panic revival button. Size the Ward pool so one full revival costs roughly 50–70% of max, leaving a defensive reserve. Remnants of Kalguur provides passive Ward generation during mapping. Minion builds already have strong defence through the meatshield effect, making the Ward layer extremely efficient on top.
Archetype 3: One-Shot Safety Net (Evasion/Deflection + Ward)
On builds already well-defended by Evasion and Deflection, sacrifice a small portion of those stats from select gear pieces (above ilvl 55) to add a Runic Ward pool that catches the one big hit that slips through. Once you are at 70%+ Evasion and 95% Deflect, stacking more gives diminishing returns against one-shots. Converting some of that into 1,000+ Ward on a couple of pieces gives insurance without gutting your front-line defence.
Best for Monk, Ranger, and Mercenary builds that already rely on evasion and deflection. For a deeper look at how resistances interact, see our Resistance & Defence guide.
Archetype 4: Auto-Clear Bomber (Repulsion + Blasphemy)
Turn Repulsion into a passive aura via Blasphemy for fully automated clear. Repulsion curses with Fragility, hits trigger Physical explosions, explosions hit other enemies and chain-react. With Living Lightning support, the setup fully automates into an auto-bomber that clears screens while you move. Scale from flat added damage on gear rather than weapon damage.
Overflow: The Hidden Power Spike
Certain Ward recovery sources can exceed your maximum — a mechanic called Overflow. Recovery that overflows pushes Ward up to 1.5× the maximum. Key Overflow sources include Animus Exchange (sacrifice Life for Ward), Remnants of Kalguur (spawn Ward remnants on stun/kill), and the Runemastered Heavy Belt unique base type which makes all Ward recovery capable of overflowing.
Overflow is especially valuable for builds that dump their entire pool on a big skill and need a buffer before regeneration kicks in.
Common Mistakes and How to Avoid Them
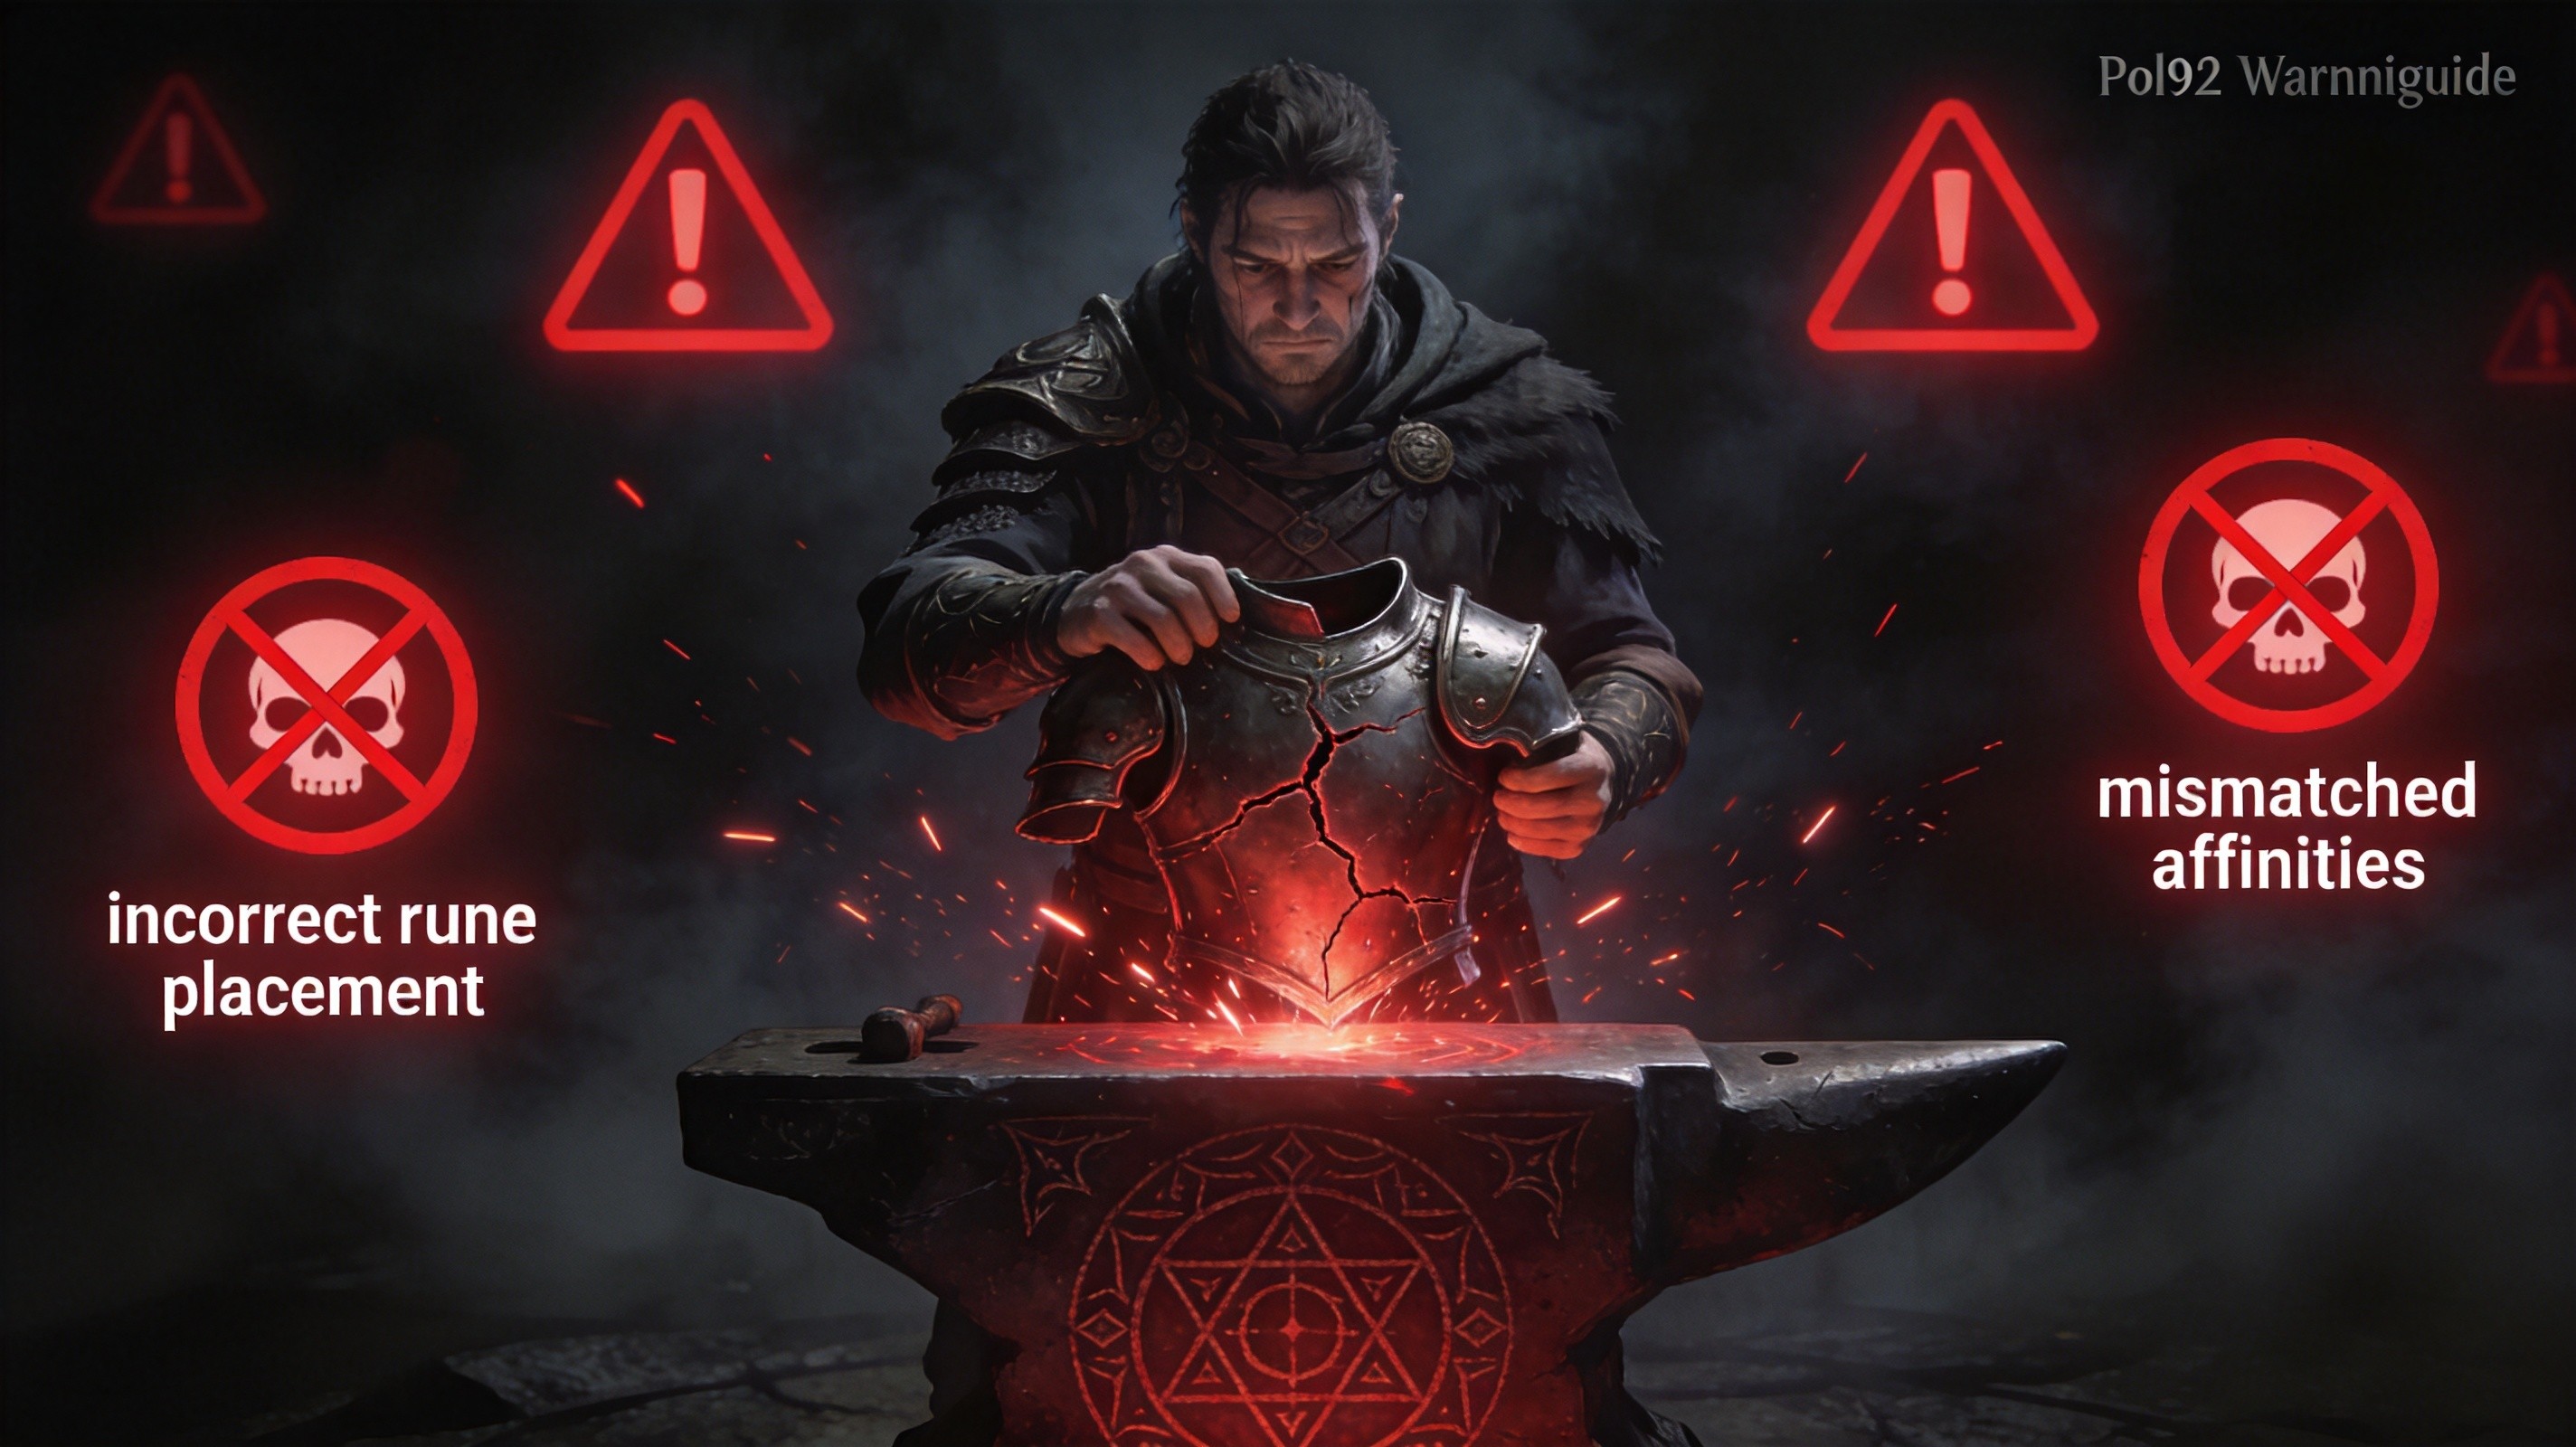
“Runic Ward is just like Energy Shield.” It is not. ES sits on top of Life and absorbs damage continuously. Ward sits below Life and only activates when you are at 1 Life from a killing blow. The play patterns are completely different.
“I should add Ward to every armour piece.” Not on endgame gear above ilvl 55. You will strip 30–65% of your base defences in exchange for a buffer that only triggers at death’s door. Always check the preview at the Anvil before confirming.
“Kalguuran gems work with any build immediately.” No attribute or colour requirements means you can socket them anywhere — not that they work well everywhere. A Sorceress with no attack damage nodes will get nothing from Fragments of the Past. Universal equip access removes one barrier; the passive tree and scaling path still determine viability.
“All new gems in 0.5 are Kalguuran.” The expansion added 54 new gems across three categories — 23 Kalguuran Skills, 7 Kalguuran Supports, and 24 new Lineage Supports. Conflating them leads to bad farming and build-planning decisions.
“Olroth’s Conviction is a Kalguuran Support.” It has Runic Ward mechanics, but it is a Lineage Support dropped from The Aberration. It cannot be crafted from Remnants.
“Percentage-based costs are fixed amounts.” Runic Infusion costs 20% of maximum Ward per cast. Raise max Ward from 1,000 to 3,000 and the per-cast cost triples from 200 to 600. The damage also triples — but sustainability burden grows proportionally.
“If it works in maps, it works on bosses.” Kill-driven Ward generation (Remnants of Kalguur, Runic Extraction) shuts down completely on single-target bosses with no adds. Always test your setup in three states: full Ward before combat, sustained use during a long fight, and recovery after the pool is depleted.
0.5.x Patch History
0.5.0 Launch (May 29, 2026) introduced the entire Kalguuran system: all 23 skills, 7 supports, 24 new Lineage Supports, the Runic Ward layer, Verisium Runeforging, Remnant crafting, Farrow’s questline, Ocean Exploration, the Ruins of Kingsmarch hub, and four faction bosses.
0.5.1 (June 5, 2026) brought quality-of-life fixes — Tidal Rune waves no longer knock back, Farrow now reveals runes in his areas, and Rain of Blades was fixed as a Remnant reward. Refutation’s duration was also reduced approximately 50% (from ~8s to ~4s), likely a stealth balance adjustment not listed in published notes.
The early-league meta has stabilised around clear winners (Refutation, Repulsion, Eternal March, Runic Infusion) and niche-but-strong options (Skyfall, Voltaic Barrier, Bitter Dead). The core Kalguuran toolkit has been well-tuned — the biggest balance discussion centres on Lineage Support pricing rather than Kalguuran gems themselves.
Quick Evaluation Checklist
Before socketing any Kalguuran gem, work through this list:
- Does my build create the required condition? (Heavy Stun, Fully Broken Armour, Ignite, corpses, Block, Glory, etc.)
- Can I sustain the Ward cost? Calculate per-rotation cost against regen and recovery sources.
- Do I have enough Ward left for defence? Maintain your Ward floor even while spending offensively.
- What am I replacing? A Kalguuran gem competes with whatever was in that socket before. The improvement needs to justify the resource cost.
- Does it work on bosses? Test against single-target, not just in dense maps.
Where to Go Next
Kalguuran skills turn Runic Ward from a purely defensive layer into a build resource — but they are one piece of a larger puzzle. If you are new to Path of Exile 2, start with the Complete Beginner’s Guide before layering in league mechanics. Once your Kalguuran build is running and you want to push into endgame, the Endgame Roadmap will show you what to tackle next.
And if you want to understand the runes themselves — the raw materials that power every Remnant recipe — the Rune System Guide breaks down every rune type, drop source, and crafting interaction in detail.
Was this guide helpful?
Help us improve PoE2Path with your feedback.